How to configure Cudy Wi-Fi router into Wireless Extender Mode?
How to configure Cudy Wi-Fi router into Wireless Extender Mode?
Common network topology:

Step 1: Open a web browser and go to http://cudy.net or http://192.168.10.1. Use "admin" as password to log in.
For details, please refer to How to log into the web interface of Cudy Router?
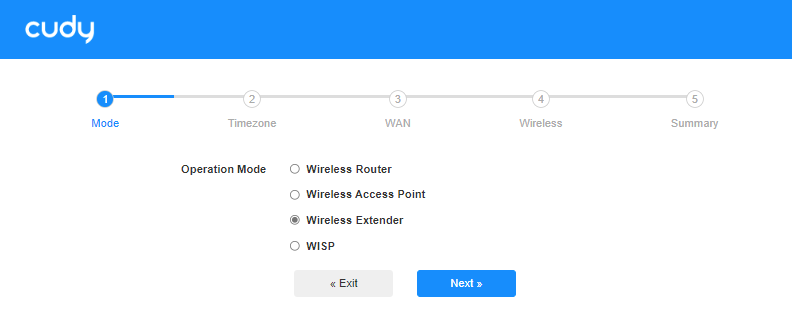
Step 2: The Quick Setup window will pop up, choose "Wireless Extender", then go "Next".
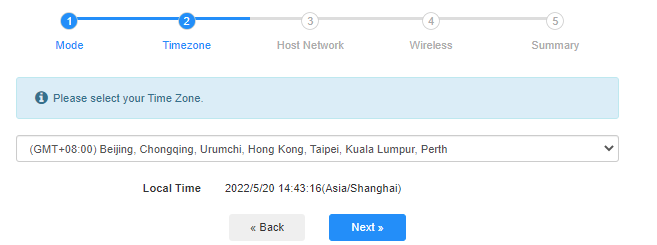
Step 3: Choose your "Time Zone".
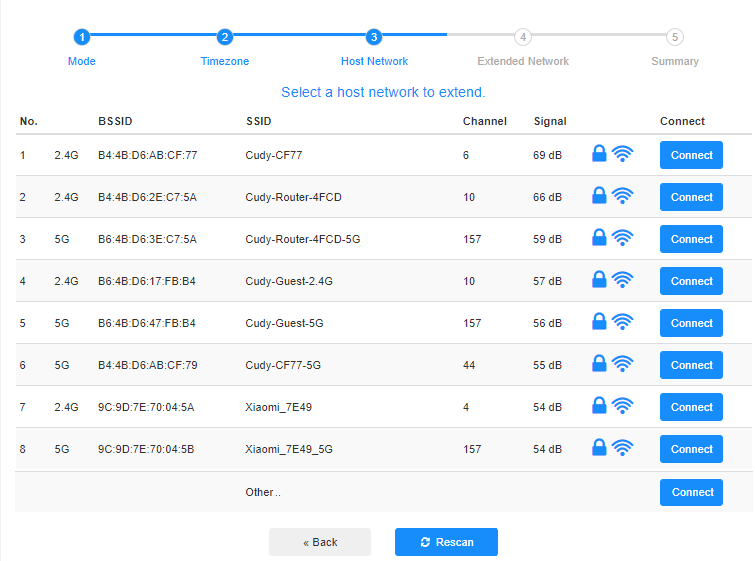
Step 4: Select the host network you want to extend. Click on "Connect".
Step 5: Enter the host network's wireless password.

Note: Make sure the wireless password you type in is correct, otherwise, the configuration cannot success.
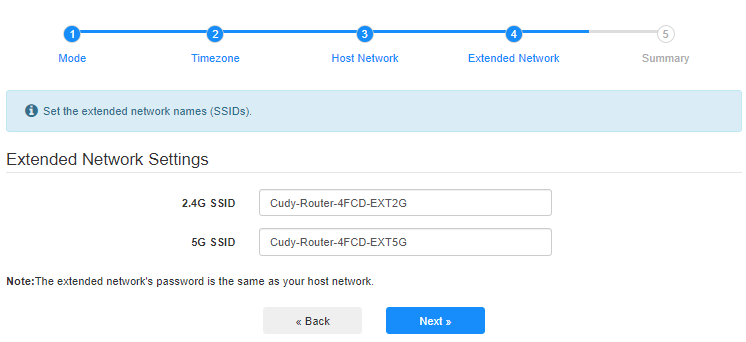
Step 6: Customize the Wi-Fi name (SSID) and the password is the same as your host network.
Step 7: Click "Save & Apply" to complete the configuration.
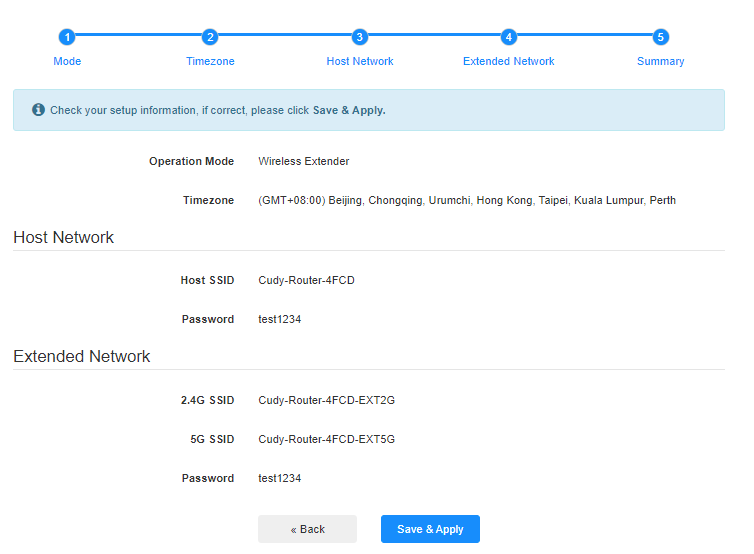
Step 8: Reconnect your wireless devices to the new Wi-Fi network.
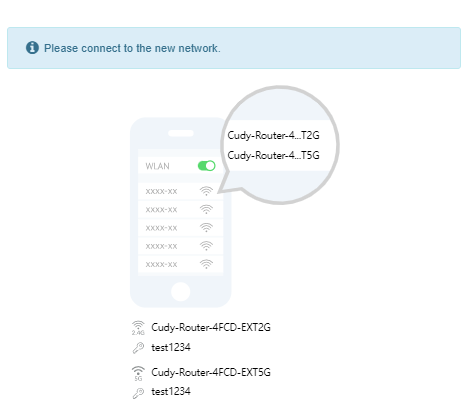
Note:
1. If you set up the Wireless Extender mode using a wired device, this device may not have Internet after setup. Please unplug and plug the Ethernet cable or disable and enable the network adapter to acquire the new connection.
2. After setting up the Cudy router in Wireless Extender mode, the IP address will be assigned by the host router and the default IP Address 192.168.10.1 will not be able to log in. If you need to log into Cudy router again, type "http://cudy.net" into your browser or look up the Cudy router's IP address in your host router's client list.
Related Articles
(Tenda)F3-How to setup PPPOE Mode
(Tenda)F3-How to setup PPPOE Mode Note: If you have no idea about what is the connection type of your network, please contact the ISP (Internet Service Provider) to confirm it. Step 1: Connect the broadband line to the WAN port of router, and then ...ZTE LTE ROUTER SETUP APN
Manual Setup 1. Open your preferred browser (Safari, Chrome, Edge, Firefox) and enter 192.168.0.1 in the address bar. 2. You will be prompted for a password which can be found written on the sticker underneath your router. 3. Once logged in, you will ...TendaF3- Change WiFi Password
(Tenda)F3-How to change your SSID and password Step 1: Login the homepage. 1. Open a browser then type “192.168.0.1” into the Address Bar, press Enter. Then enter the password of this page. Tap “Login”. Note: The default password is shown on the ...Finding your MAC address
A MAC address (also known as a Wi-Fi address, physical address, or Ethernet ID) always has 6 pairs of characters with a dash or colon between them (for example: 00-1a-22-3c-dd-5e). To get the MAC address for a(n): Apple iOS device: Go to Settings > ...GXP21XX End User Guide
Grandstream Networks, Inc. GXP2130/GXP2140/GXP2160/GXP2170/GXP2135 Enterprise IP Phones User Guide